Pin it
 My sister called me three days before Easter, voice cracking slightly as she admitted she'd promised her daughter homemade desserts for the school celebration but had no idea where to start. I found myself at her kitchen table an hour later, pulling out cake mix and thinking about how my nephew's eyes always light up at anything blue. That's when these cake pops felt less like a recipe and more like a rescue mission—one that somehow turned into our favorite Easter tradition.
I'll never forget watching my nephew pick one up at the Easter table, turning it slowly in his hand like he'd discovered treasure. He bit into it carefully, and his face went soft in that way five-year-olds do when something tastes exactly right. His mom caught my eye across the table, and suddenly this little dessert meant so much more than cake and frosting.
Ingredients
- Vanilla cake mix: This is your shortcut and your friend—it bakes evenly and gives you a neutral base that frosting clings to beautifully.
- Unsalted butter: Softened is the magic word here, otherwise you'll be fighting lumps in your frosting for way longer than necessary.
- Powdered sugar: Sift it if you have time, but honestly, whisking it in gradually while beating works just fine.
- White candy melts or white chocolate: Candy melts are more forgiving for dipping, but real chocolate feels fancier if you're patient with tempering.
- Blue gel food coloring: This is non-negotiable—liquid food coloring will seize your chocolate faster than you can say 'mistake,' so trust the gel.
- Coconut oil or vegetable shortening: Just a touch thins the coating without changing the flavor, making dipping feel smooth instead of clumsy.
- Cocoa powder and vodka: They create that speckled eggshell effect, and the alcohol evaporates, leaving only the look of bird feathers.
Tired of Takeout? 🥡
Get 10 meals you can make faster than delivery arrives. Seriously.
One email. No spam. Unsubscribe anytime.
Instructions
- Bake and cool your cake:
- Follow the box directions completely, then let it cool on the counter until it's room temperature. Warm cake falls apart when you crumble it, so patience here saves frustration later.
- Make the frosting:
- Cream the butter until it's pale and fluffy, then add the powdered sugar slowly while the mixer runs. The milk and vanilla go in last, and you should taste this moment—it smells like every good dessert memory.
- Combine cake and frosting:
- Crumble the cooled cake into a large bowl until it looks like fine breadcrumbs, then add frosting bit by bit, mixing with your hands. You want a mixture that holds together when squeezed but doesn't feel like wet dough.
- Roll into balls:
- This is meditative if you let it be—each ball about the size of a tablespoon, rolled gently between your palms. Freeze them for 15 minutes so they stay intact during the dipping chaos ahead.
- Melt and tint your coating:
- Use a double boiler or microwave in short bursts, stirring between each one to keep things smooth. Add blue gel coloring a tiny bit at a time, because it concentrates fast and robin's egg blue is more subtle than you'd think.
- Stick and chill:
- Dip the stick tip into coating, then push it halfway into each frozen cake ball, working quickly. Refrigerate for 10 minutes so the sticks hold firm when you dip the whole thing.
- Dip the pops:
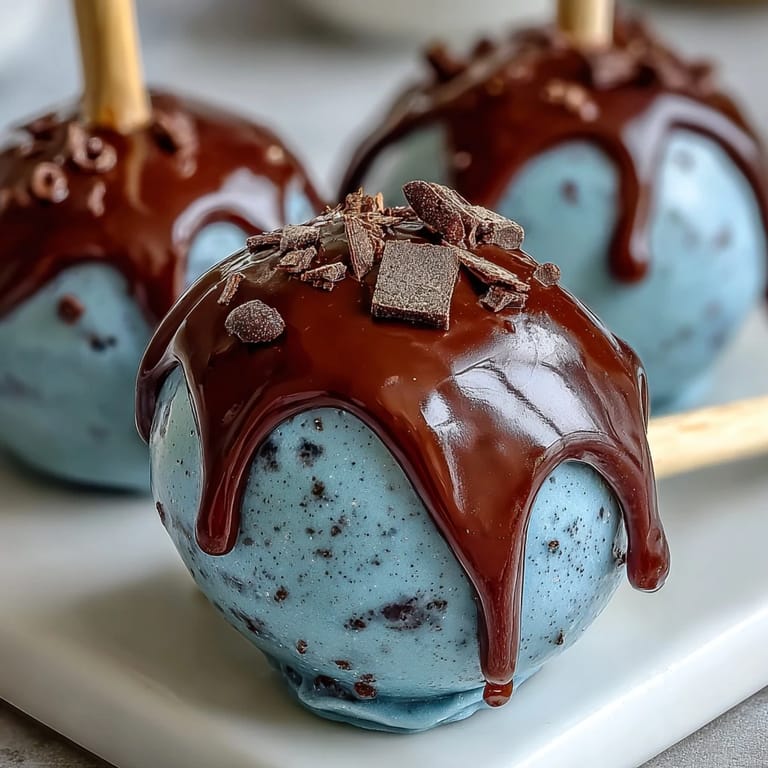
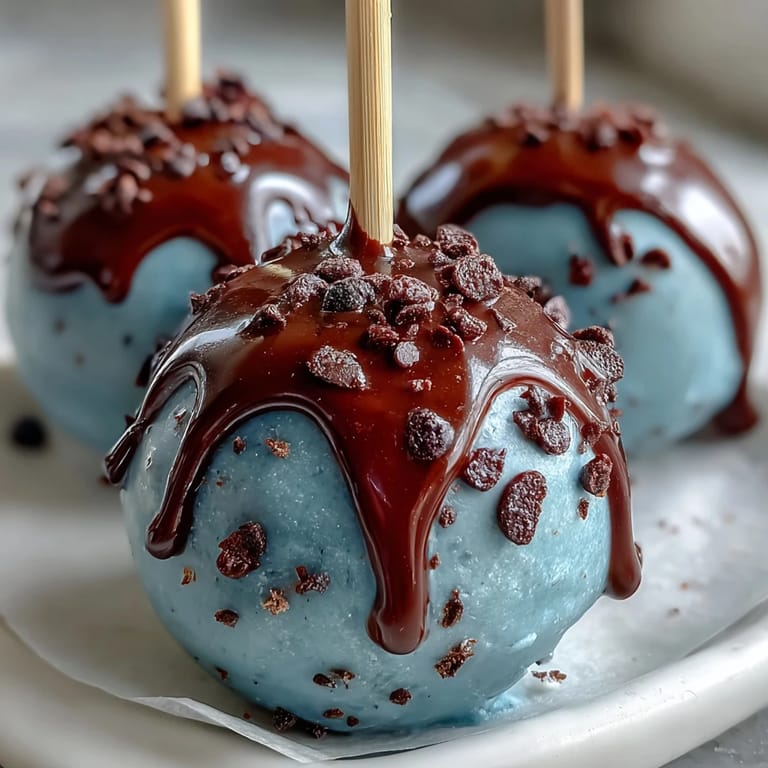
- Submerge each cake pop fully into the blue coating, then twist gently and lift, letting the excess drip back into the bowl. Stand them upright in your Styrofoam block, and watch them look instantly elegant.
- Create the speckled finish:
- Whisk cocoa powder with a teaspoon or two of vodka until it's the consistency of thin watercolor paint. Dip a small paintbrush and flick it gently over each pop—the speckles should feel random and natural, like actual egg markings.
- Set and serve:
- Let them sit at room temperature until the coating feels firm to the touch, usually 20 minutes or so. Then step back and admire what you've made.
 Pin it
 There's something about making cake pops that feels like you're creating tiny edible art pieces, even if you're just following steps. The moment when those blue-coated pops are lined up in the Styrofoam block, waiting for their speckles, is when the kitchen feels a little bit magical.
Timing and Freezer Prep
These cake pops actually improve with time if you've frozen them—make them two days ahead and they'll hold their shape better, and you'll sleep better the night before your event. I've learned to bake the cake the day before, crumble it while slightly cool, then do the rest when I'm fresh.
Flavor Variations Worth Trying
Once you've nailed the basic robin's egg blue version, your frosting becomes the playground. I've mixed almond extract into the frosting for a subtle nod to marzipan, and once I added half a teaspoon of lemon zest and suddenly everyone wanted the recipe.
Storage and Serving Strategy
Room temperature is fine for three days, but refrigerating them extends their life to a week and makes them taste almost chilled-dessert-like if you eat them straight from the cold. For parties, I arrange them on a tiered stand about an hour before guests arrive, which gives them time to warm to that perfect bite-through texture.
- Stack them in an airtight container with parchment between layers if you're storing them—they're delicate despite looking sturdy.
- If the coating cracks slightly while setting, you can touch it up with a tiny brush of extra melted coating, and it will set seamlessly.
- These freeze beautifully for up to three months, so you can make them in early spring and pull them out for an impromptu Easter gathering.
 Pin it
 Baking these cake pops is really just an excuse to make something that brings joy to people you care about. Every time someone tells me they reminded them of Easter morning or brought back a memory, I realize that's the whole point.
Recipe FAQ
- → How do you achieve the robins egg blue color?
Use oil-based blue gel food coloring mixed into melted white candy melts or white chocolate for a smooth, vibrant coating.
- → What is the purpose of freezing the cake balls before coating?
Freezing firms the cake balls, making them easier to dip and preventing them from falling apart during coating.
- → How are the speckles added on the coating?
A cocoa powder and vodka or clear extract paste is flicked over the coated pops using a small brush to create a delicate speckled effect.
- → Can these pops be stored for later use?
Yes, they can be stored at room temperature for up to three days or refrigerated for about a week while maintaining freshness.
- → What ingredients can be adjusted for flavor variations?
Frosting flavor can be customized with lemon or almond extracts for a unique twist on the classic taste.