 Pin it
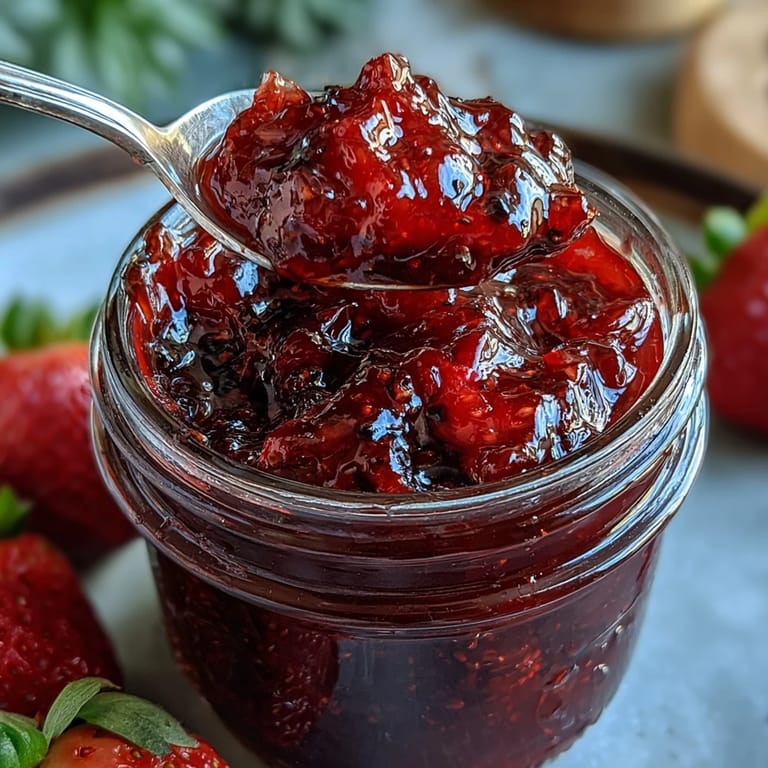
 The way the scent of simmering strawberries fills a kitchen is enough to make me forget about everything else for a while. One rain-soaked afternoon last spring, stray sunlight danced across my counter just as I finished hulling the berries, and suddenly making this jam felt less like a task and more like a welcomed pause. Watching ruby juices bubble away, I couldn't help but feel connected to generations of home cooks stubbornly capturing the fleeting taste of the season. There's a quiet satisfaction whenever I hear the gentle pop of sealing jars—it's as if the jam itself is promising to brighten many mornings ahead. No matter how hectic life gets, this small batch brings a little warmth and wonder into even the simplest routine.
There was one Saturday when my neighbor stopped by, drawn in by the unmistakable aroma drifting down the hallway. We ended up sharing fresh scones and jars of this jam on the stoop, laughing about our failed bread experiments and debating whether vanilla or herb infusions made the better addition. That unexpected morning turned into a cherished ritual—proof that the best kitchen moments are often unplanned.
Ingredients
- Fresh strawberries: Use the ripest, most fragrant berries you can find for a naturally vibrant jam—always taste one before starting to be sure of their sweetness.
- Granulated sugar: Sugar does more than just sweeten—it helps the jam set and preserves its glowing color for weeks.
- Freshly squeezed lemon juice: A squeeze of tart lemon brightens the flavor and gives the jam the perfect balance of sweet and tangy.
- Vanilla bean (optional): The subtle aroma of real vanilla rounds out the jam, though a good vanilla extract works beautifully if that's what you have on hand.
Tired of Takeout? 🥡
Get 10 meals you can make faster than delivery arrives. Seriously.
One email. No spam. Unsubscribe anytime.
Instructions
- Mash the berries:
- Tip the hulled strawberries into a heavy-bottomed saucepan and use a potato masher to crush about half, leaving the rest chunky for a rustic texture.
- Add sugar and lemon:
- Pour in the sugar and lemon juice, then stir everything together and let it sit for 10 minutes—watch tiny rivulets of pink juice pool at the bottom.
- Infuse with vanilla (if using):
- Add the scraped vanilla bean seeds and pod, or drizzle in the extract, letting the mixture turn wonderfully aromatic.
- Bring to a gentle boil:
- Set the pan over medium heat and stir as the sugar melts, listening for the soft plopping of berries as they release their juice. Skim any pale pink foam that forms to keep your jam clear.
- Simmer and test for doneness:
- Let the mixture bubble for about 20–25 minutes, stirring often, until thickened. Drop a little on a cold plate—when it wrinkles as you gently nudge it, the jam is ready.
- Jar the jam:
- Remove from heat and discard the vanilla pod. Let the jam cool for 5 minutes before carefully ladling into sterilized jars and sealing tightly.
- Store:
- Cool jars completely at room temperature, then refrigerate. Use within a month—though mine rarely lasts that long.
 Pin it
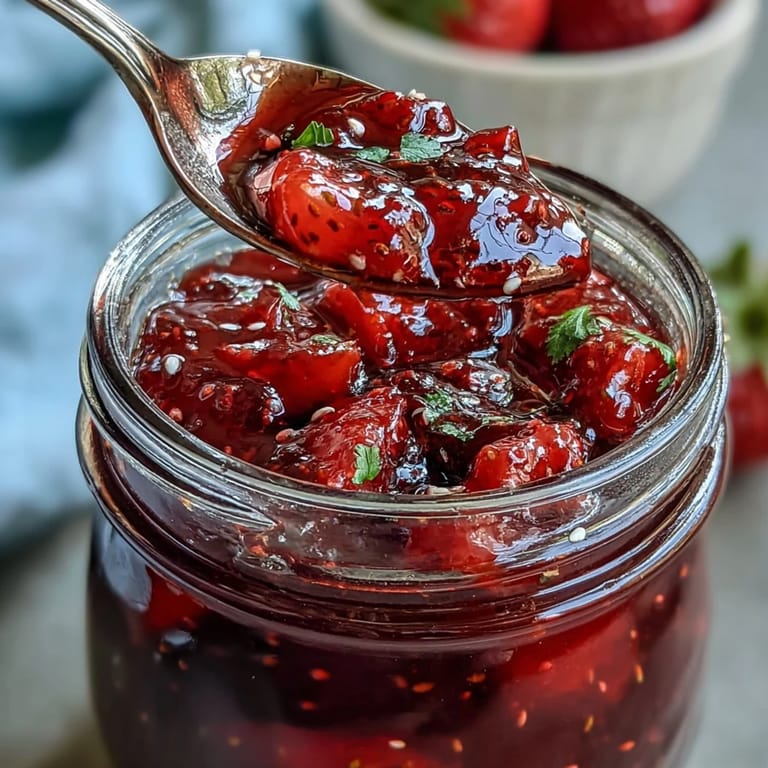
 One quiet morning, I found myself spreading this jam on warm toast as the house slept. It suddenly struck me how a jar of something simple could feel like a little act of self-kindness, a small bright spot in an ordinary day.
Making the Jam Your Own
Sometimes I toss in a sprig of basil or a whisper of thyme for a faint herbaceous note that surprises and delights. Trying different citrus, like Meyer lemon, can subtly shift the flavor and aroma. Using recycled glass jars or fabric-topped lids transforms these preserves into homemade gifts that are as much about the thought as the taste.
Troubleshooting Common Hiccups
If your jam ends up a little too runny, don’t worry—letting it simmer for a few extra minutes usually does the trick. When the mixture foams up, just skim gently to keep the finished jam lustrous. And if you forget the vanilla, you might actually prefer its pure berry flavor the next time.
Small Batch, Big Charm
Making just two jars feels manageable, never overwhelming, and lets you experiment with flavors season to season with whatever fruit looks best. Pouring jam into little jars feels oddly rewarding—like bottling up a bit of everyday magic to savor as the mood strikes. And the simplicity means you're more likely to make another batch soon, just to share the sweetness around.
- If gifting, decorate with scraps of linen or twine for a true cottagecore touch.
- Always label your jars with the date so you remember how fresh they are.
- Try halving the recipe if you have only a handful of berries—small really is beautiful.
 Pin it
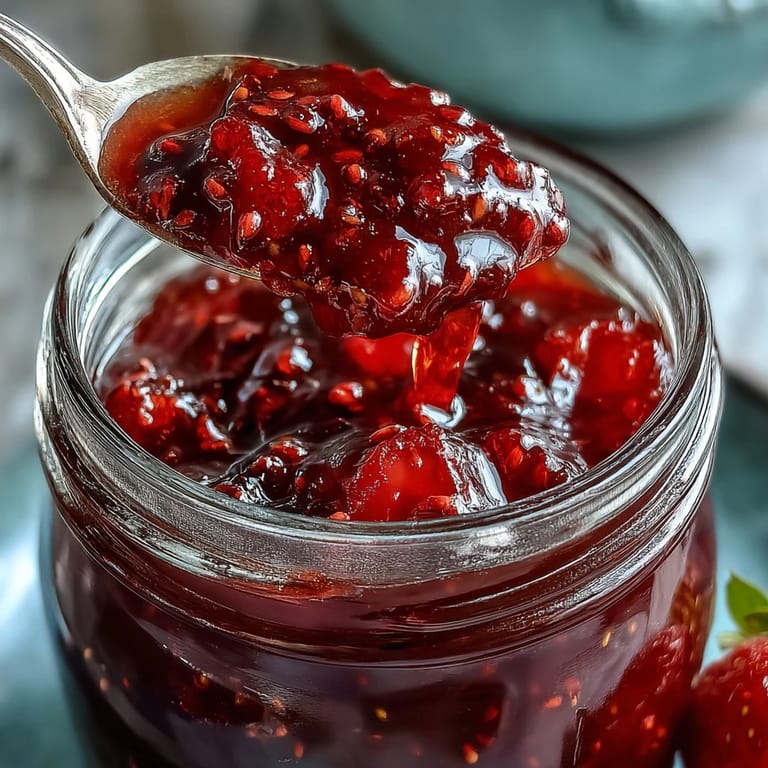
 Even the smallest batch of homemade strawberry jam feels like a victory over fleeting seasons. I hope you find a little everyday joy in each sweet spoonful.
Recipe FAQ
- → How do I know the jam has set?
Test by spooning a small amount onto a chilled plate; if it wrinkles when pushed the set is reached. A candy thermometer reading of about 105°C (220°F) is another reliable indicator.
- → Why add lemon juice to the mix?
Lemon juice balances sweetness and helps pectin form a gel by lowering the pH, giving a brighter flavor and a firmer set.
- → Can I skip the vanilla?
Yes. Vanilla adds warm, rounded notes but is optional; omitting it yields a pure, bright strawberry flavor.
- → How should I sterilize jars?
Wash jars and lids in hot, soapy water, rinse, then place jars in a simmering water bath or a 120°C oven for 10–15 minutes. Keep jars hot until filling to reduce contamination and cracking.
- → How long will the jam keep?
Refrigerated, jars opened or not will keep about one month. For longer shelf stability, process sealed jars in a boiling water bath for 10 minutes and store in a cool, dark place.
- → Can I use frozen strawberries?
Yes. Thaw and drain excess liquid, then proceed—cooking time may be a bit longer to reach the proper thickness, and texture will be slightly softer.