 Pin it
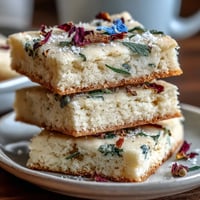
 A few years back, I stumbled upon a small café in Tokyo where the pastry chef layered this impossibly silky hojicha panna cotta with fresh berries, and I spent the next ten minutes just staring at it before eating. The roasted tea flavor was subtle but unmistakable, almost smoky, nothing like the bright matcha desserts I'd tried before. I kept thinking about that spoon hitting that perfect balance of creamy, fruity, and crunchy, and eventually decided I had to figure out how to make it at home. Now I make it whenever I want to feel a little closer to that quiet moment in that café, or honestly, whenever I need to impress someone without spending all day in the kitchen.
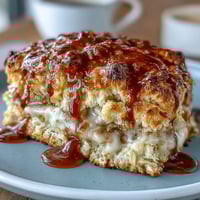
I made this for my partner on a rainy afternoon when they'd had a rough week, and watching them take that first bite—eyes closing for a second—reminded me why I love cooking. There's something about layered desserts that makes people slow down and actually taste what's in front of them, and that matters.
Ingredients
- Heavy cream: This is your base for silky texture, and using full-fat makes all the difference in how the panna cotta sets.
- Whole milk: It keeps things from getting too heavy while still maintaining that creamy mouthfeel.
- Hojicha tea leaves: Look for loose leaves, not bags—they infuse better and you can really see the roasted color steeping into the cream.
- Granulated sugar: Just enough to sweeten without overpowering the toasted tea flavor.
- Powdered gelatin: Bloom it properly or you'll end up with grainy texture, trust me on this one.
- Vanilla extract: A small amount rounds out the hojicha flavor beautifully.
- Mixed fresh berries: Pick whatever looks bright and ripe at your market, or use frozen if that's what you have.
- Granola: The crunch is essential here, so don't skip it or go too light on the portion.
Tired of Takeout? 🥡
Get 10 meals you can make faster than delivery arrives. Seriously.
One email. No spam. Unsubscribe anytime.
Instructions
- Bloom your gelatin:
- Sprinkle it over cold water in a small bowl and let it sit for about 5 minutes. It'll look like wet sand when it's ready, and this step keeps it from clumping when you add it to the warm cream.
- Heat the cream and milk:
- Combine them in a saucepan and warm over medium heat until you see wisps of steam rising and tiny bubbles forming around the edges. You want it hot but not boiling, or the cream can break.
- Steep the hojicha:
- Pour the hot cream mixture over the tea leaves, cover the pan, and let it sit for 10 minutes. The longer it steeps, the deeper and more complex the flavor becomes, so don't rush this part.
- Strain with intention:
- Pour everything through a fine mesh sieve, and don't just let it drip—gently press the leaves with the back of a spoon to squeeze out every bit of that roasted tea flavor. You'll be amazed at how much color comes out.
- Dissolve the sugar:
- Return the infused cream to the pan, add sugar, and stir over low heat until the sugar completely dissolves. Again, no boiling—just let it get warm and silky.
- Incorporate the gelatin:
- Remove the pan from heat, then whisk in the bloomed gelatin until it's completely dissolved and you don't see any grainy bits. Add the vanilla extract at the last second.
- Set the panna cotta:
- Pour the mixture into your serving glasses, filling each about halfway, then slide them into the refrigerator for at least 4 hours. You can make these the night before if you want.
- Prepare the berries:
- While the panna cotta is setting, toss your fresh berries with a tablespoon of sugar if you'd like them a bit sweeter, then let them sit for 10 minutes so they release a little juice.
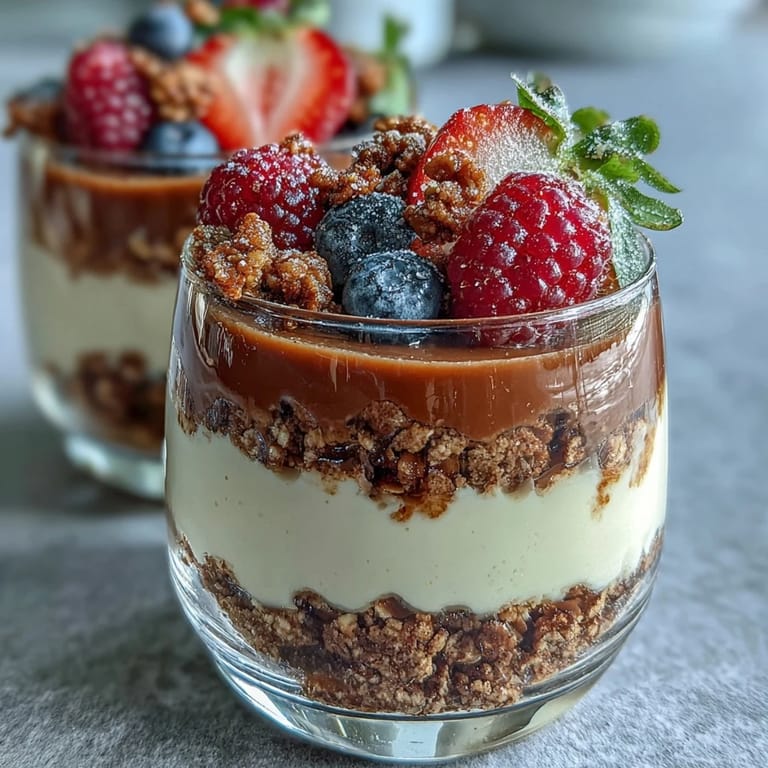
- Layer it up:
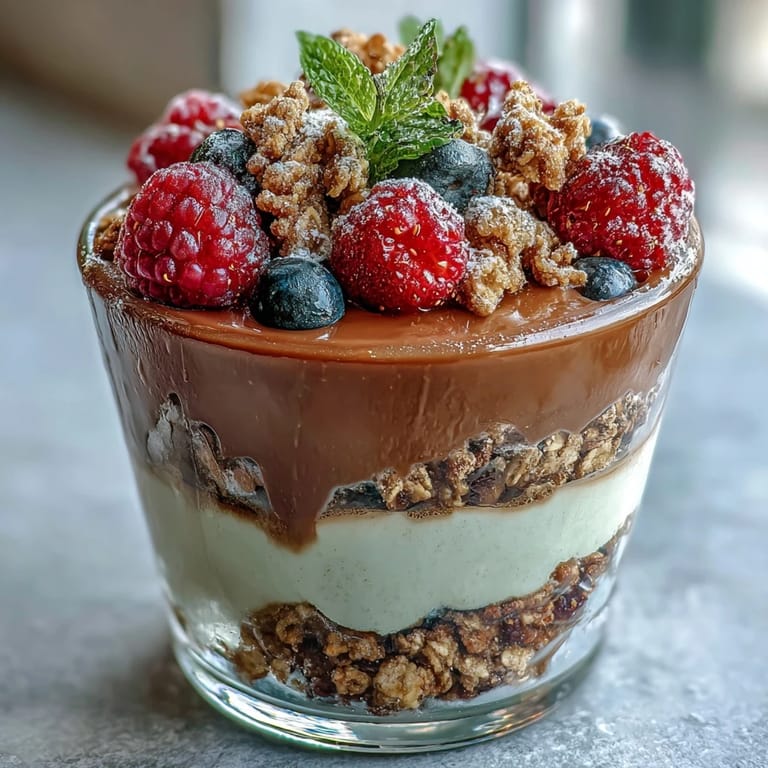
- Once the panna cotta is set and wobbles just slightly when you jiggle the glass, spoon a layer of granola on top, then crown it with a generous handful of berries. If you want taller parfaits, repeat the layers.
 Pin it
 The first time everything came together perfectly—when I pulled those glasses out of the fridge and the panna cotta was set but still trembling slightly, and the berries glistened on top—I realized this wasn't just a dessert, it was a little moment of craftsmanship I could create on a weeknight. That feeling doesn't get old.
Finding Your Hojicha
Not all hojicha is created equal, and the quality really shows in this dessert since the tea flavor is the star. Look for loose leaves that smell deeply roasted and slightly nutty, almost like you're smelling toasted hazelnuts. If you order online, Japanese specialty retailers usually have better quality than what you'll find in most supermarkets, and it's worth the extra few days of shipping. Store it in an airtight container away from light, because stale tea tastes flat and lifeless in something this delicate.
The Texture Question
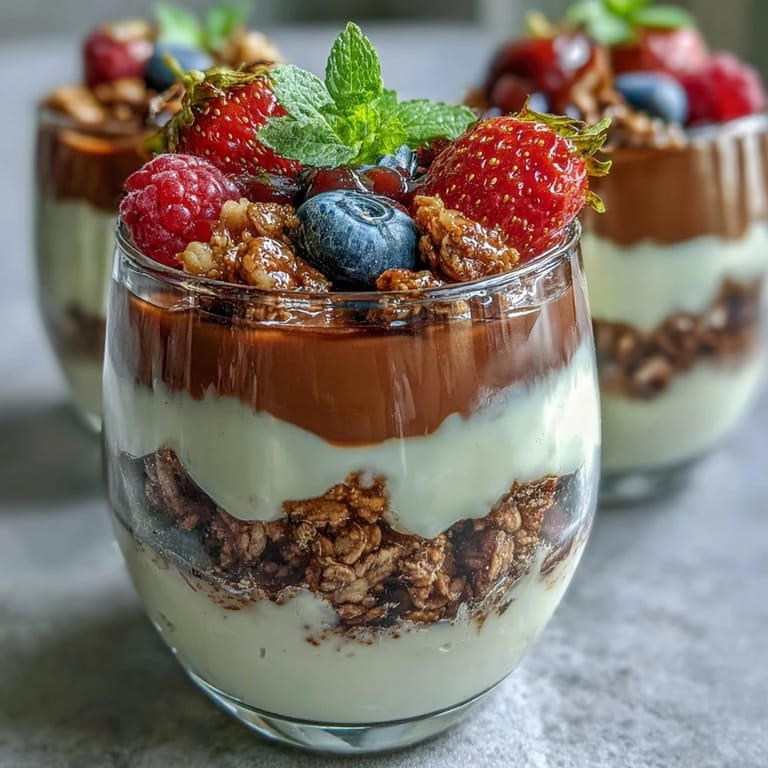
The magic of this dessert lives in how the three layers feel in your mouth. The panna cotta should be creamy and almost pillowy, the berries should burst with juice, and the granola should have a genuine crunch that doesn't fade after a few seconds. If your panna cotta feels too firm or bouncy, you used too much gelatin or let it chill too long. If it's too soft and doesn't hold its shape, you didn't use enough.
Variations That Work
Once you've made this once and know how it should feel and taste, you can start playing around. Some people swear by a matcha version for something brighter and more herbaceous, while others add a splash of bourbon or rum to the mixture. I've also made it with white chocolate melted into the cream for something richer, though that changes the balance a bit.
- Try adding a drizzle of honey or a few drops of almond extract instead of vanilla for subtle shifts in flavor.
- Swap the berries for poached stone fruit if you're making this in late summer, or use candied citrus peel in winter.
- Make extra panna cotta base and freeze it in small bowls to enjoy later as a silky, sophisticated ice cream.
 Pin it
 This dessert feels fancy but it's really just cream, tea, and berries coming together in a way that makes someone's day a little better. Make it, share it, and let people enjoy those layers.
Recipe FAQ
- → Can I make this dessert ahead of time?
Prepare the hojicha panna cotta layers up to 2 days in advance and keep refrigerated. Add the granola and berry layers just before serving to maintain the satisfying crunch of the granola topping.
- → Where can I find hojicha tea leaves?
Hojicha is available at Japanese grocery stores, specialty tea shops, and online retailers. Look for loose-leaf roasted green tea for the best flavor infusion in your cream base.
- → What's the difference between hojicha and matcha?
Hojicha is roasted green tea with a reddish-brown color and earthy, caramel-like notes. Matcha is powdered shade-grown green tea with a vibrant grassy flavor. Hojicha's milder taste pairs beautifully with creamy desserts.
- → Can I use agar-agar instead of gelatin?
Yes, substitute the powdered gelatin with 2 teaspoons of agar-agar powder. Dissolve it in the hot liquid and bring to a brief boil to activate. The texture will be slightly firmer than traditional panna cotta.
- → What berries work best for this parfait?
Mixed berries like strawberries, blueberries, raspberries, and blackberries create lovely color contrast. Choose seasonal ripe fruit for the sweetest flavor, and macerate them with a touch of sugar to release their natural juices.