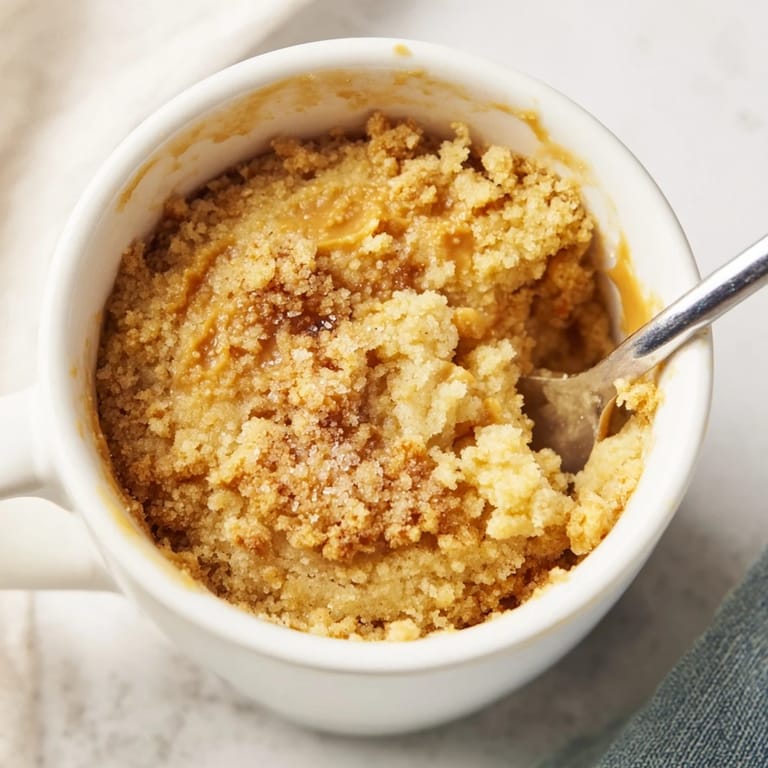
 Pin it
 Late one night, I stood in my kitchen staring at an empty dessert mood and a full pantry, wondering if I could somehow turn my peanut butter obsession into something warm and real in under five minutes. I grabbed a mug—just a regular one I drink coffee from—and started mixing. Three minutes later, I had something impossibly fluffy and golden that tasted like it had been made in an actual oven. It became my secret weapon on nights when I needed comfort but not commitment.
My roommate wandered into the kitchen one random Tuesday, smelled something warm and sweet coming from my mug, and asked what I was making. When I told her two minutes, she laughed—but then she tasted it and made me promise to teach her. Now she makes them when she's had a rough day, and that's when I knew it wasn't just convenient, it was actually good.
Ingredients
- Creamy peanut butter: The foundation of everything; use something smooth and spreadable so it mixes evenly rather than leaving little peanut butter pockets.
- Unsalted butter, melted: Adds tenderness and richness without fighting the peanut butter's voice.
- Large egg: Your moisture and structure all at once, which is why you can't skip this part.
- Milk: Dairy or non-dairy both work; it just loosens the batter to cake consistency instead of fudgy thickness.
- Vanilla extract: A small whisper that rounds out the peanut butter without being obvious about it.
- All-purpose flour: Keeps the cake from collapsing while still staying tender; don't use cake flour or it'll be too delicate.
- Granulated sugar: Sweetness and lift; brown sugar makes it denser and chewier, which is fine if that's your preference.
- Baking powder: The only reason this becomes cake and not a warm peanut butter custard.
- Salt: A pinch that makes the peanut butter flavor pop without tasting salty.
Tired of Takeout? 🥡
Get 10 meals you can make faster than delivery arrives. Seriously.
One email. No spam. Unsubscribe anytime.
Instructions
- Mix the wet base:
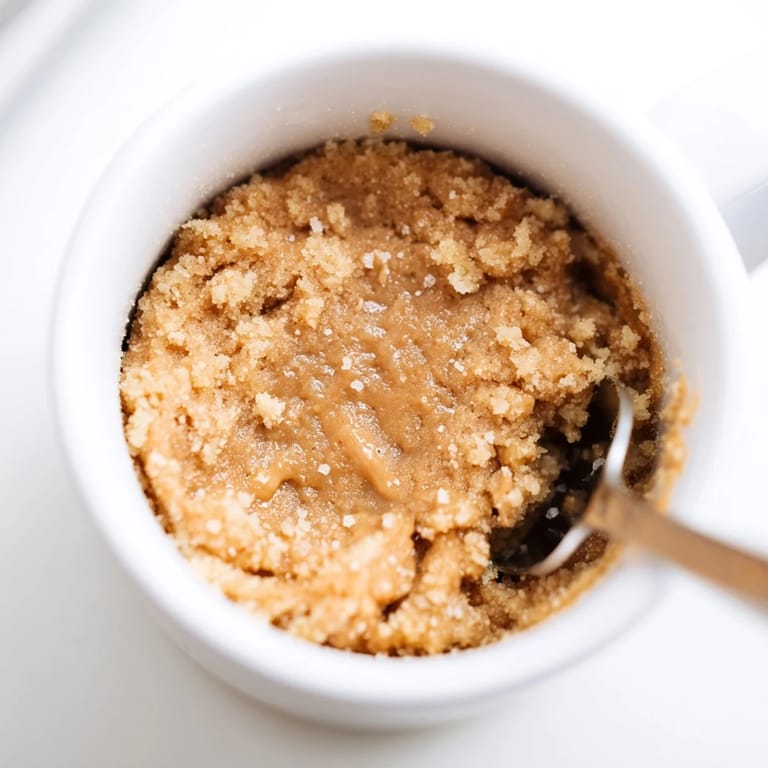
- Pour the peanut butter and melted butter into your mug and stir until the two are completely married into one smooth mixture. You're looking for no streaks or swirls.
- Build your batter:
- Crack the egg right into the mug and add the milk and vanilla, then whisk with a fork until everything is combined and you don't see egg whites anymore. It should look like a thin peanut butter soup.
- Fold in the dry goods:
- Sprinkle the flour, sugar, baking powder, and salt over the top and stir gently just until you can't see any white streaks. Stop before your brain says it's fully mixed—overmixing makes the crumb tight and chewy instead of fluffy.
- Microwave with intention:
- Microwave on high for 60 to 75 seconds; start checking at 60 seconds by looking at how much the cake has risen. The top should be set and slightly springy when you touch it, with maybe a tiny bit of wet cake still clinging to the center.
- Rest and enjoy:
- Let it cool for 1 to 2 minutes so you don't burn your mouth, though honestly a little warmth is the whole point. Eat it straight from the mug with a spoon.
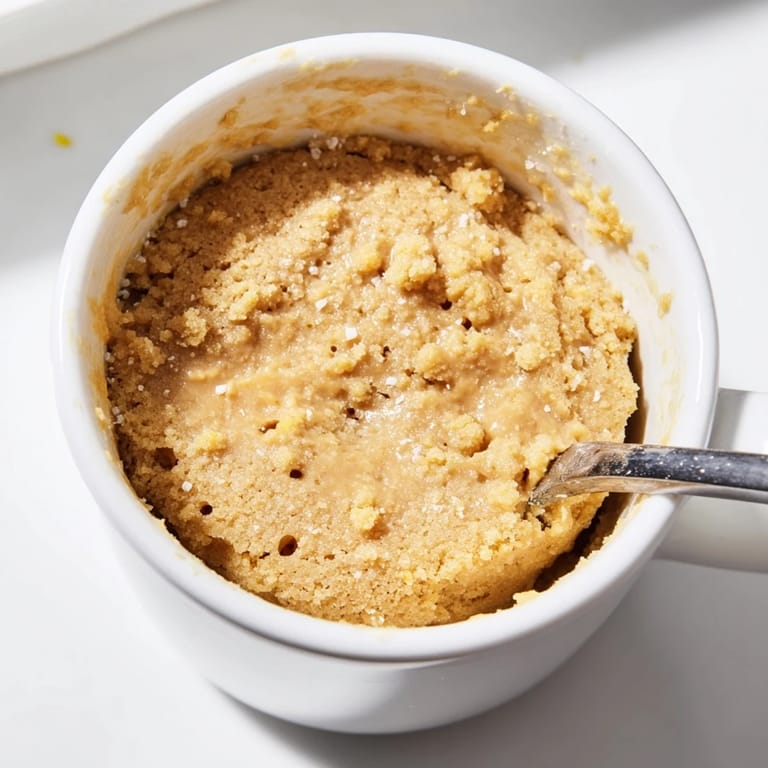
 Pin it
 My friend came over after a breakup and we didn't have much in the kitchen, so I made her one of these. She sat at my counter with her mug, eating slowly, and said it felt like someone actually cared that she needed something good right then. That's when I realized this wasn't about speed or convenience anymore.
Flavor Play and Variations
Once you've made this a few times and know how your microwave behaves, you can play with it. Almond butter works beautifully if you're rotating nut butters, and it brings a slightly more delicate flavor. Natural peanut butter, the kind where the oil sits on top, gives you a more sophisticated, less sweet version that tastes almost earthy. I've added a tablespoon of chocolate chips right before microwaving, and they melt into little pockets of richness without making the whole thing greasy.
Dairy-Free and Allergen Adjustments
If you're cooking for someone with dietary needs, the swaps are simple and actually improve the cake in different ways. Oat milk brings a natural sweetness that makes you want to add a tiny bit less sugar, while coconut milk makes everything taste slightly tropical and decadent. For gluten-free, a one-to-one flour blend works perfectly as long as you don't accidentally grab the ones that already have xanthan gum added. The trickiest ingredient to replace is the egg if someone has an allergy, since it does structural work, but aquafaba or a flax egg can get you close though the result will be slightly more delicate.
Toppings and the Art of Making It Yours
The warm cake itself is almost too good to cover, but sometimes a topping is exactly what elevates a moment. A scoop of cold vanilla ice cream melting into the warm cake, a drizzle of honey that pools in the center, a sprinkle of sea salt that makes the peanut butter flavor snap—these are the touches that make it feel like dessert instead of just a snack. You could also dust it with powdered sugar, press a few chocolate chips on top while it's still steaming, or add a tiny spoonful of jam for tartness.
- Ice cream melts faster into warm cake than you'd expect, so eat it before the mug cools down if that's your style.
- Honey or maple syrup poured while the cake is still warm becomes almost like a sauce that pools at the bottom of the mug.
- Save the fancy toppings for nights when you really want to feel like you're doing something special, even if it's still just three minutes.
 Pin it
 This cake taught me that good food doesn't need to be complicated, just intentional. It's waiting for you on nights when five minutes is all you have but your heart needs something warm.
Recipe FAQ
- → Can I use dairy-free milk alternatives?
Yes, substituting almond, oat, or other non-dairy milks works well to maintain moisture and flavor.
- → How do I know when the cake is done?
Microwave until the cake has risen and the center is set but still moist, typically 60 to 75 seconds.
- → Can I adjust sweetness levels?
Absolutely, sugar amount can be modified or natural peanut butter used for less sweetness.
- → What topping options complement the cake?
Chocolate chips, honey, or a scoop of ice cream add extra indulgence and texture.
- → Is it possible to make this gluten-free?
Yes, using a 1:1 gluten-free flour blend will keep the texture while avoiding gluten.